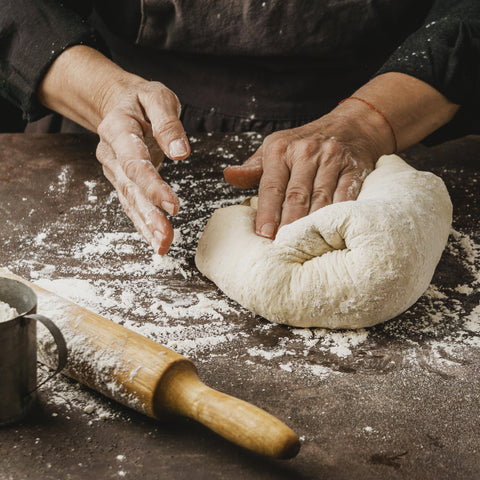
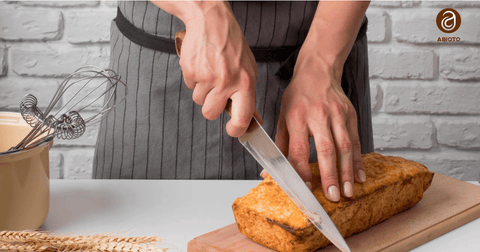
Baking sourdough at home is deeply satisfying, but it’s also a bit finicky. The wild yeast, the timing, the feel of the dough, it all matters. Without the right tools, even a good recipe can fail you. But with the right ones, you turn guesswork into confidence.
If you're serious about turning out loaves that crackle, spring, and pull apart in beautiful sheets, knowing the best tools for baking sourdough is essential. These are the instruments that bridge your hands to science. Below is your full toolkit, everything you really need, how to use it, and how it improves your results.
Why Tools Make the Difference in Sourdough?
Sourdough is part art, part chemistry. Your starter ferments, your dough strengthens over hours, and when you bake, it interacts with steam, heat, and structure. The better your tools, the more control you have over each step. Without the right tools, mistakes get magnified: underproofed dough, flat loaves, overbaked interiors.
So yes, you can bake with minimal tool. But if you want consistency and fewer headaches, investing in these tools will pay off. They don’t do the work for you, but they let you do your work better.
Essential Tools That You Need to Bake Sourdough Bread
Digital Kitchen Scale: Your First Non-Negotiable Tool
Good luck eyeballing flour, water, and starter in sourdough. The difference of just 5-10 grams can wreck your dough’s hydration or lead to a dense loaf. A digital kitchen scale solves that. You’ll weigh your flour, your water, your discard, your feedings, all of it. That precision helps you replicate success and spot mistakes in your formula.
When I started, measuring by cups led to wildly inconsistent results. Once I switched to a digital scale, my bakes became more reliable. If your scale has a tare (zeroing) function and reads in grams, you’re golden.
Bench Scraper: For Clean Handling & Shaping
Sourdough dough likes to be sticky. Without a proper tool, your hands will be covered, and a mess will be everywhere. A bench scraper gives you leverage. You can fold, lift, divide dough, and clean your surfaces with one tool. It helps maintain hydration (you won’t over‑flour) and preserves dough structure.
When you’re doing stretch and folds, a bench scraper helps guide the dough without tearing it. It’s just such a simple tool, but once you have one, you won’t want to bake without it.
Proofing Baskets (Bannetons): For Shape & Structure
After your bulk fermentation, your dough needs support. Here comes a proofing basket (a banneton). These baskets hold the dough in shape as it rests and ferments a final time. They also wick away a bit of surface moisture, helping build a fine crust.
You’ll often see beautiful spiral patterns in artisan loaves, that comes from the ridges in bannetons. Whether round or oval, lined or floured directly, Abioto’s proofing baskets help you get that classic loaf aesthetic and control the final form.
Dutch Oven: Creating the Ideal Baking Environment
Your regular oven is great, but it loses moisture fast. For sourdough, you want steam early on so the loaf expands before the crust sets. That’s why a Dutch oven is a favorite among home bakers. It traps steam, regulates heat, and gives your loaf that lift and crust you aim for.
Here’s the trick: preheat the Dutch oven (lid on) so it’s screaming hot when the dough goes in. That “oven spring” is your best friend. After 20-25 minutes, you lift the lid and let the crust brown. If you skip this and just bake on an open tray, you’ll miss that golden, crackly shell.
Lame or Bread Scoring Tool: Guide Your Loaf’s Release
If you don’t score your dough, it might tear unpredictably or not open well. A lame, or bread scoring tool, gives you control. You can direct how the loaf expands, produce that artisan ear, and make your bake look intentional.
Use quick, confident cuts. Don’t press too hard or too slow. You’re telling the dough where you want it to open. As you gain experience, you’ll experiment with designs and angles. It’s part technique, part expression.
Silicone Baking Mat or Parchment Paper: For Easy Transfer
Getting your loaf from the bench to the Dutch oven without deflating it can be scary. That’s why a silicone baking mat or parchment paper is a lifesaver. You shape your dough on it, then lift or slide it right into the pot. No sticking, no tearing.
Silicone mats are reusable and easy to clean. Parchment is disposable but convenient. Either way, they reduce stress in that final transfer. When your dough bakes, you want it to behave, not fight you.
Thermometer: Know Exactly What You’re Doing
Heat is everything in bread baking. A thermometer helps you check your dough temperature during fermentation, and the internal temperature of your loaf after baking. Overbake? You dry it out. Underbake? It won’t set properly.
You want your finished sourdough to hit around 200°F internally (sometimes a bit higher depending on crust preferences). During fermentation, aim for dough temps in a zone that your recipe suggests (e.g., 76-78°F or whatever your formula calls for). The thermometer gives you data instead of guesswork.
How to Put It All Together (Workflow Tips)
Having the tools is one thing; using them well is another. Here’s a rough workflow that shows how they come into play:
-
Weigh flour, water, and starter on your digital scale.
-
Mix until rough cohesion, then use a bench scraper to do folding and manipulation.
-
After bulk fermentation, shape on a mat or parchment.
-
Place into a floured banneton for final proof.
-
Preheat your Dutch oven. Transfer the dough (on parchment or mat) into it.
-
Use a lame to score the bread right before closing the lid.
-
Bake covered for steam, then uncover for crusting.
-
Check internal temp with the thermometer to confirm doneness.
With each tool doing its job, the process feels more intuitive and less stressful.
Choosing the Best Tools for You
Not every baker can or wants to spend top dollar. But prioritize. If I were advising a beginner, I’d say:
-
Get a reliable digital kitchen scale first.
-
A bench scraper is inexpensive and a workhorse.
-
Add a Dutch oven next.
-
Then get a lame and proofing baskets.
-
Finally, invest in a thermometer and quality parchment or silicone mat.
You don’t need perfection, just consistency. Over time, you’ll upgrade as you grow.
Also, when choosing tools, look for features: nonstick surfaces, easy cleaning, durability, and precision. Those details may seem small, but they matter when you bake often.
Step Up Your Baking with Abioto
At Abioto, we get it. You want tools that feel natural, last long, and help you bake better every time. That’s why we craft each item with serious bakers in mind, so you can focus on dough, not tools.
Browse our carefully curated collection and pick the tools that’ll transform your sourdough journey.
Let’s bake beautifully together.
FAQs
What tools do you need for baking sourdough?
You’ll want a scale, proofing baskets, a Dutch oven, a scoring tool, a bench scraper, a thermometer, and a mat or parchment to prevent sticking.
What is the biggest mistake beginners make with sourdough bread?
They rush proofs, skip rests, or misread dough behavior. Patience and observation are essential.
What utensils to use for sourdough?
Stick to nonreactive bowls, scrapers, spatulas, lames, and tools that withstand moisture and heat.
What do I need to bake a loaf of sourdough?
You need flour, water, salt, starter, plus proper tools to weigh, ferment, shape, and bake.


Comments (0)
There are no comments for this article. Be the first one to leave a message!