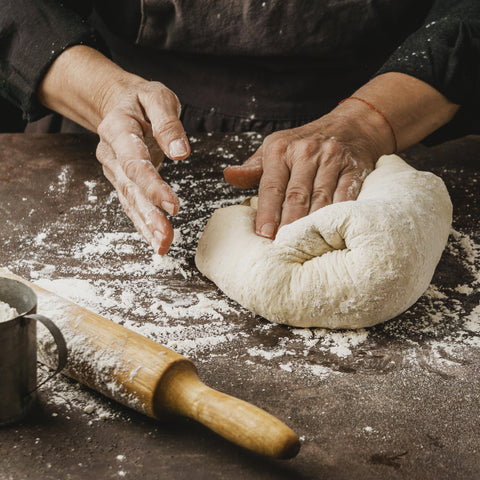
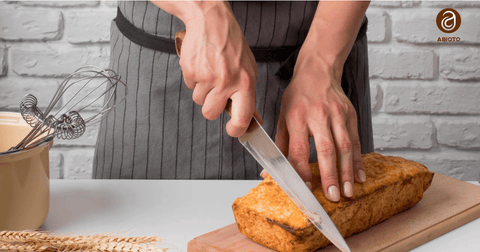
Baking homemade sourdough bread is supposed to be some fussy chef-level process, but trust me, once you get the fundamentals of it, it's not really that bad. It's not simply whisking water and flour together; it's a labor of love, one that takes some patience and a little TLC. But holy god, the aroma of homemade sourdough bread rising in your kitchen? Otherworldly. That crackling crust, that open, chewy crumb? Every minute of it is worth it.
If you're new to this, it can feel overwhelming. What really matters? What's just marketing? This guide's here to get it straight, the basics, the methods, and some tips that'll save you some trial and error. Let's get down to it.
Basic Tools for Making Great Sourdough Bread
You don't have to spend an arm and a leg, but a few good tools simplify your life and your bread in the best way:
Proofing baskets (bannetons): These support your dough's shape during the last rise, and they create that neat pattern you find on genuine artisan loaves.
Danish whisk: Working sourdough dough by hand is messy. This tool makes it a heck of a lot easier to get everything combined.
Bread lame: A cutting blade to score the dough before baking. It allows your loaf to open in the oven nicely and provides that traditional look.
Dough scraper: Sticky dough likes to stick to anything. This makes it easy to transfer it without having half the batch stuck to your hands.
Dutch oven or baking stone: These provide your bread with the heat and steam that it requires for that crusty golden color.
These gadgets aren't merely "nice to have," they actually make a difference in what your bread looks like.
Techniques That Make Sourdough Work
Equipment assists, but the hidden key is the way you handle the dough:
Starter care: Your starter's alive. Feed it regularly. When it's bubbly and has a little tangy smell, you're ready to go. That's what provides your bread's rise and taste.
Autolyse: Simply a matter of combining flour and water initially, allowing it to rest before introducing the remainder. It moistens the flour and softens the dough.
Stretch and fold: Forget vigorous kneading. Stretching and folding the dough gently during fermentation develops strength without destroying it.
Bulk fermentation: This is the stage where the dough gets taste and texture. It typically takes a few hours. Monitor for bubbles and that wonderful rise.
Scoring: Just before baking, use your lame to slash the top of the dough. This regulates how it blows in the oven, no strange blowouts.
Master these, and your bread will get better quickly.
Tips and Tricks to Prevent Sourdough Sins
Starting with homemade sourdough bread is not always a breeze. These tips assisted us in avoiding some beginner's blunders:
-
Use good flour. No need to be high-end, but unbleached bread flour or whole grain flour produces better taste and texture.
-
Monitor your water temperature. Too hot will murder your starter; too cold will hinder it. Lukewarm is the ideal.
-
Monitor your surroundings. Temperature and humidity make all the difference. Cooler temperatures slow, hotter ones hasten, sometimes too much.
-
Take notes. Note the flour you used, how long it rose, and what succeeded. Easier to refine next time.
-
Experiment. Each starter's unique. Experiment with varying flours, adjust fermentation times, and your own beat.
Why Homemade Sourdough Bread Is Worth It?
It's a time commitment, sure. But sourdough is more than just bread; it's an art. One that brings you in touch with something true. And it tastes better, too, than anything wrapped in plastic from the market.
You get to dictate what goes into it, no preservatives, no trash. And there's something great about taking a golden, crackling loaf out of your oven and being able to say that you made it all by hand.
Making Your Sourdough Truly Yours
Perhaps one of the greatest things about making homemade sourdough bread is that it's so versatile. After you get the fundamentals down, you can experiment with it. Want a denser loaf? Add some whole grains or seeds. Need a softer crumb? Get a little more hydration and fermentation going on.
Experiment with different flours, rye, spelt, and even gluten-free mixes if you're adventurous. Play with salt, add herbs, whatever your taste demands. The dough reacts to what you provide.
This's not about baking bread. It's about creating something that suits you, your kitchen, your folks, and your style. That's what makes it engaging.
Ready to Bake Your Own Homemade Sourdough Bread?
If you're willing to dive into homemade sourdough bread, the proper equipment and a good process are everything. A good starter, a good proofing basket, a scraper, they make it less stressful and result in better bread, that's just it.
We've already compiled everything you'll need, so you won't be running around finding tools everywhere on the internet. Whether you're a beginner or working to perfect your technique, this equipment will take you there.
Get baking today. Experience how much sweeter homemade sourdough is.
FAQs
Q: How long does it take to bake homemade sourdough bread?
It takes a matter of your starter and fermentation times, but generally it's around 12 to 48 hours.
Q: Can I just use regular all-purpose flour for sourdough?
You can, but bread flour or whole grain flour usually produces a better texture and flavor.
Q: What if my starter isn't active or bubbly?
Feed it regularly and give it warmth. Sometimes it just needs more TLC or time.
Q: How do I store homemade sourdough bread?
Keep it at room temperature in a paper bag for a few days, or freeze slices for longer.


Comments (0)
There are no comments for this article. Be the first one to leave a message!